Setup
PDF Merge has an integrated setup wizard to assist you with the configuration of the app. It is recommended to use the setup wizard page to set up the app.
-
Search for and open the PDF Merge Setup Wizard page.
Tip
You can open the PDF Merge Setup Wizard page by using the Tell Me search feature
(Alt+Q, or click on the ‑icon in the top right corner).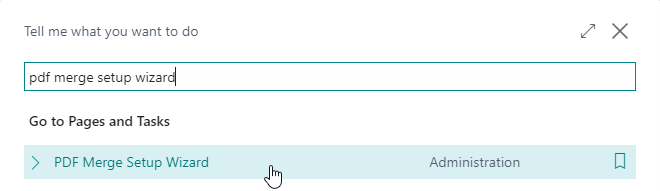
Or, open the Assisted Setup page where you will find an entry for the PDF Merge Setup Wizard.
-
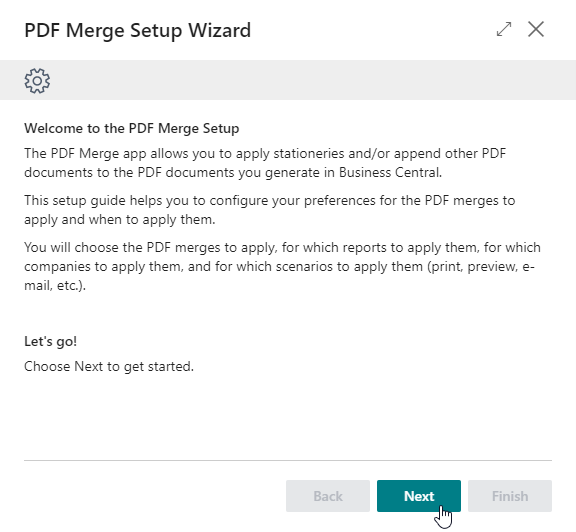
Read the introduction and click on Next.
-
Set up Subscription
The first step of the setup wizard informs you that you can use the PDF Merge app in a Sandbox environment for free, without any restrictions for an unlimited time (no trial period).
Our advice is to try out apps (either from Apportunix or a different third-party vendor) in a Sandbox environment first. For Apportunix apps, the benefit is that you can use all features of the app for free, without any restrictions; no need to pay and no trial period. Note that for the PDF Merge app, a watermark will be applied to your PDF documents, which also makes it easier to distinguish between documents produced from a Sandbox, to prevent you from mistakenly sending out documents from a Sandbox.
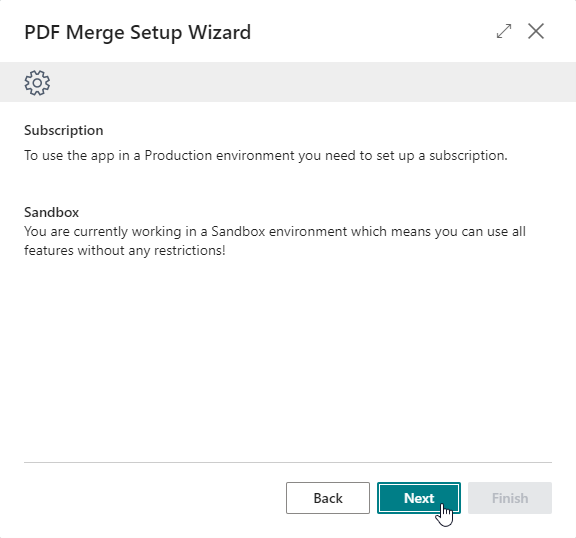
For use in a Production environment, you will need to set up a subscription. The setup wizard guides you with the steps on how to do this as well.
-
Assign Permission Sets
The Assign Extension Permission Sets step will inform and request you to assign the relevant permission sets to your users or security groups.
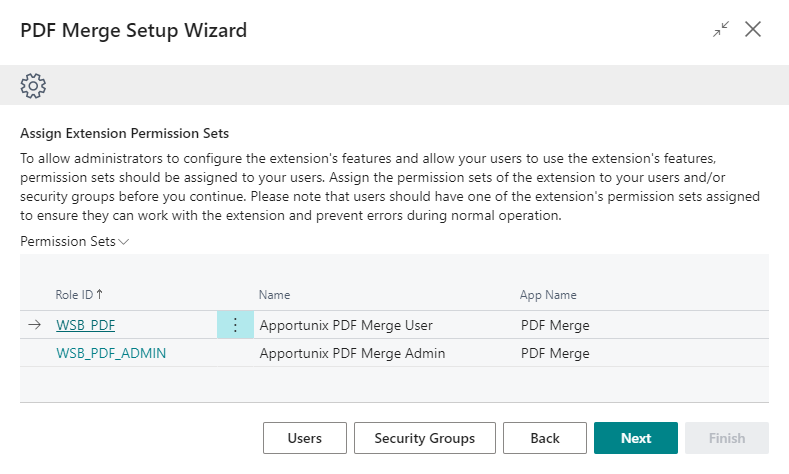
If you have not assigned the permission set(s) yet, then please assign the permission sets accordingly. For more information, please see the Permission Configuration section.
When you have assigned the permission sets, please choose Next.
-
PDF Merges
In the PDF Merges step of the setup wizard, you can set up underlays and appendices for your document reports for when they are exported to PDF.
For example, you can add a stationery PDF file as Underlay action to your PDF documents or add an appendix PDF file as an Append action for it to be appended at the end of the final PDF file.
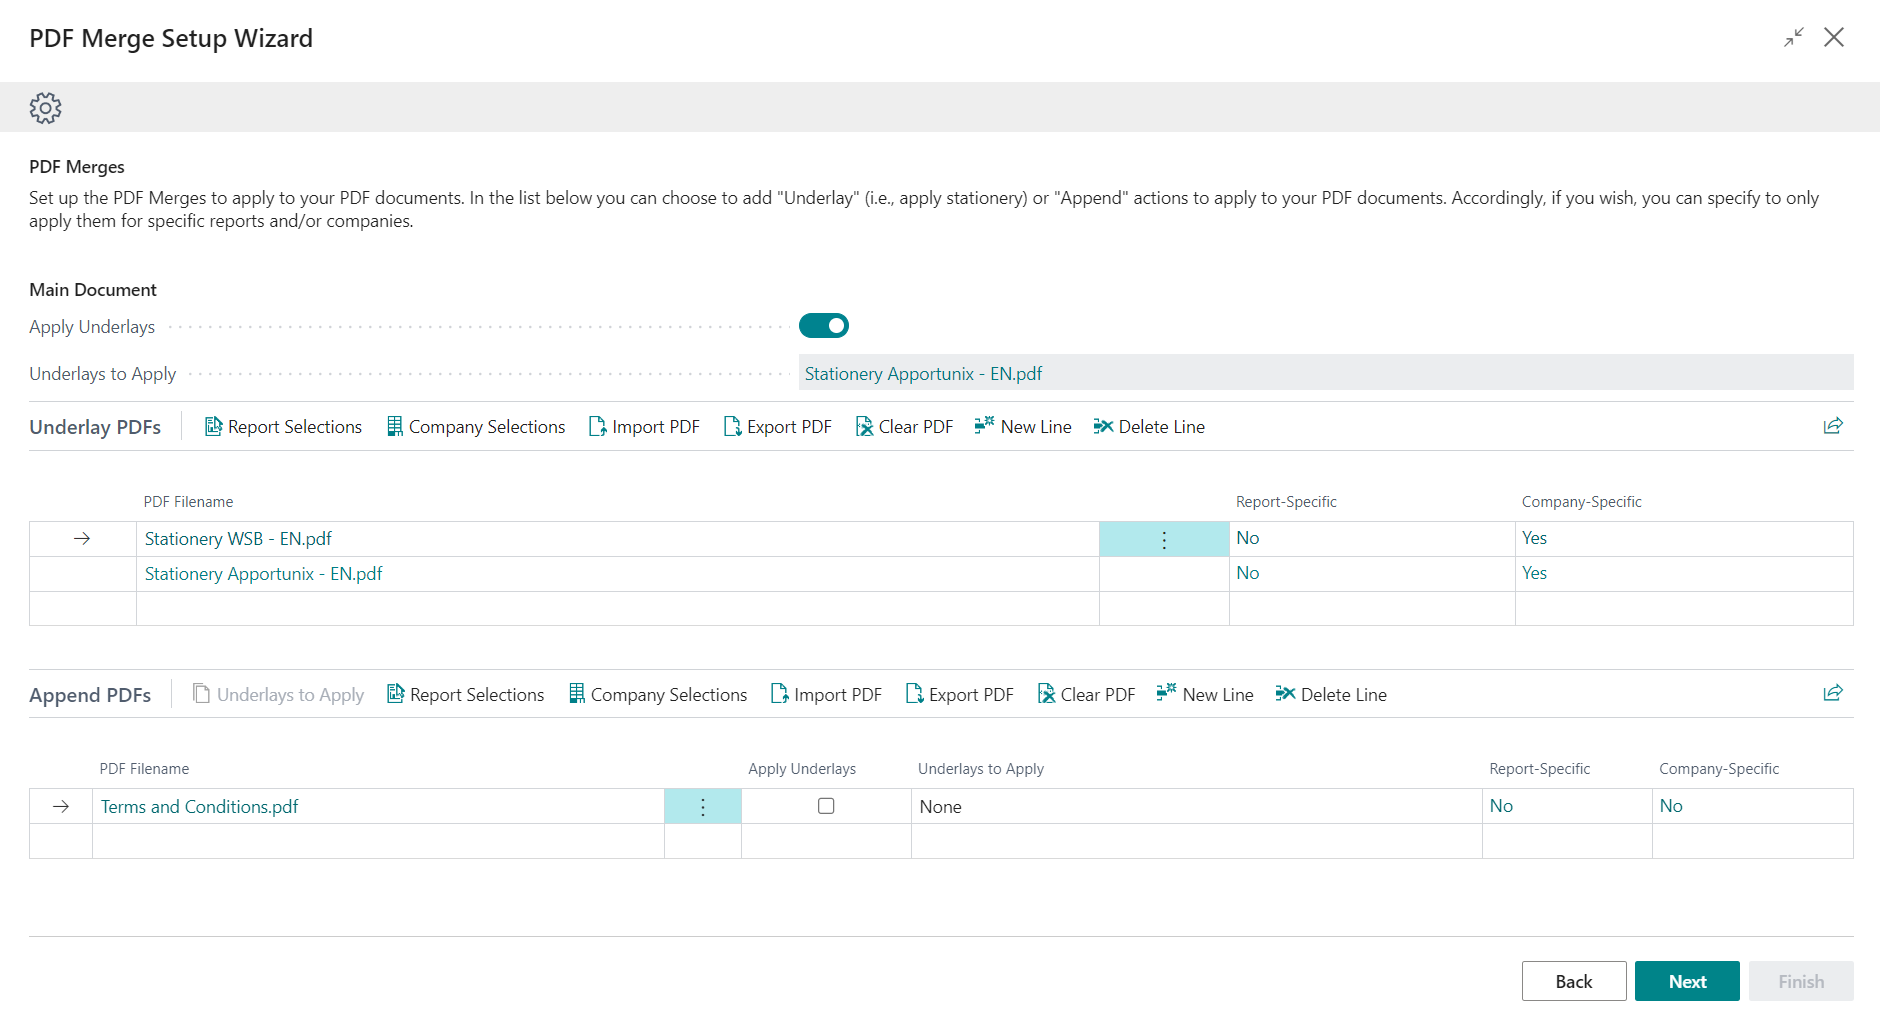
Configure the PDF Merges to your preferences and after you are finished, choose Next.
In the sections below you can find more information about the fields and actions available on the page. Please note that the fields and actions also include tooltips with further explanation.
Apply Underlay Field
You can use the Apply Underlay field to specify whether the underlay should be applied to appended PDF files as well. By default, underlays will not be applied to appended PDF files.
Company Selections for Company-Specific Merges
You can use the Company Selections action to view and edit the companies to which the selected PDF merge applies.
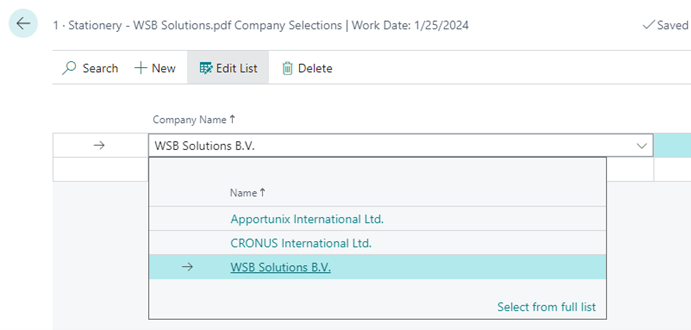
If no companies are specified, then the PDF merge will be applied in all companies.
You can use the Company-Specific field to see whether (or not) a PDF merge only applies to specific companies.
Report Selections for Report-Specific Merges
You can use the Report Selections action to view and edit the reports to which the selected PDF merge applies.
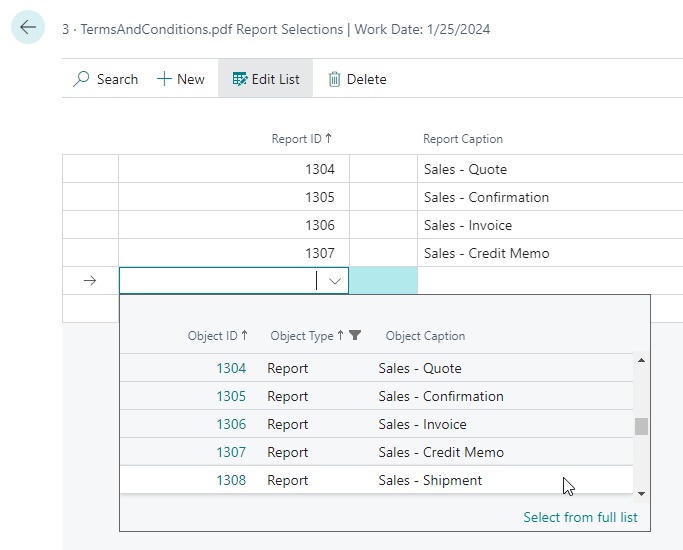
If no reports are specified, then the PDF merge will be applied for all reports.
You can use the Report-Specific field to see whether (or not) a PDF merge only applies to specific reports.
-
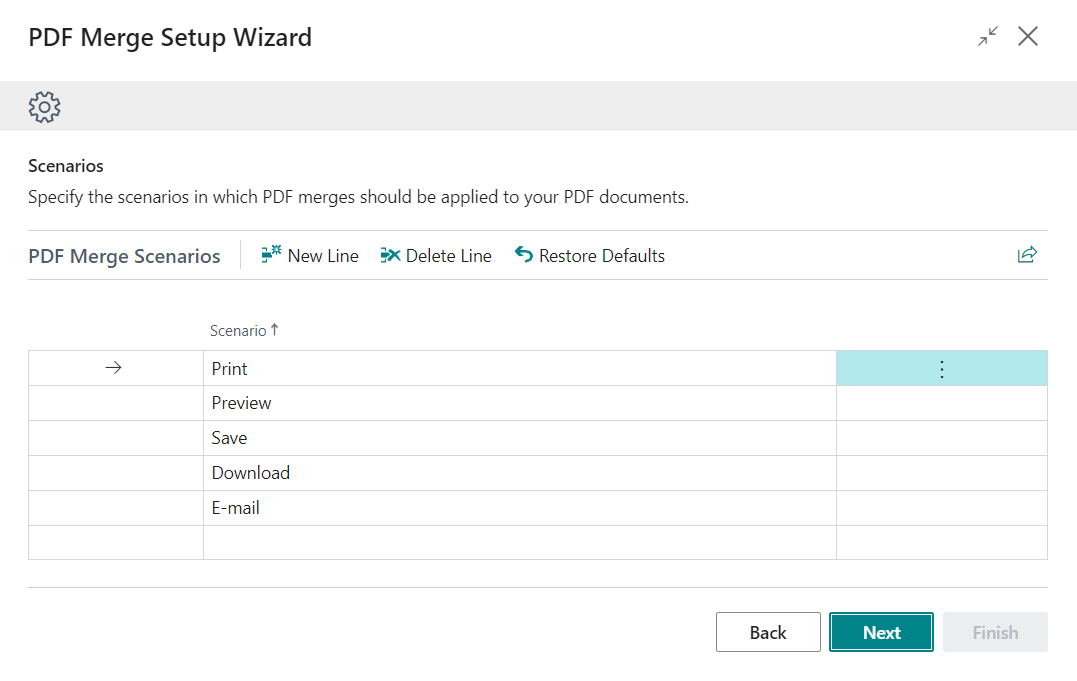
PDF Merge Scenarios
In the Scenarios step of the setup wizard, you can set up when the PDF merges should be applied to the PDF documents that you produce in Business Central.
For example, this setting allows one to specify that the PDF merges should only be applied when PDFs are printed or e-mailed. By default, the configured PDF merges are applied for printing, previewing, saving, downloading, or e-mailing PDF files.
The available options are as follows:
Scenario Description Print When a document is printed, the PDF merges will be applied. Note that the PDF merge action is also applied when the print action is handled by the browser. Preview When a document is previewed, the PDF merge will be applied. Save When a document is saved, the PDF merge will be applied. Download When a PDF file is downloaded, the PDF merge will be applied. E-mail When a PDF file is generated for e-mail attachment, the PDF merge will be applied. Configure your preferences for when the PDF merges should be applied, and when you are finished, choose Next.
-
You have now finished the setup of the PDF Merge app. You can now choose Finish to close the wizard page and from then on, your PDF merges will be applied as configured to your preferences.
Tip
If you wish to change the configuration later on, you can always choose to open the PDF Merge Setup Wizard page again, or use the PDF Merge Setup page:
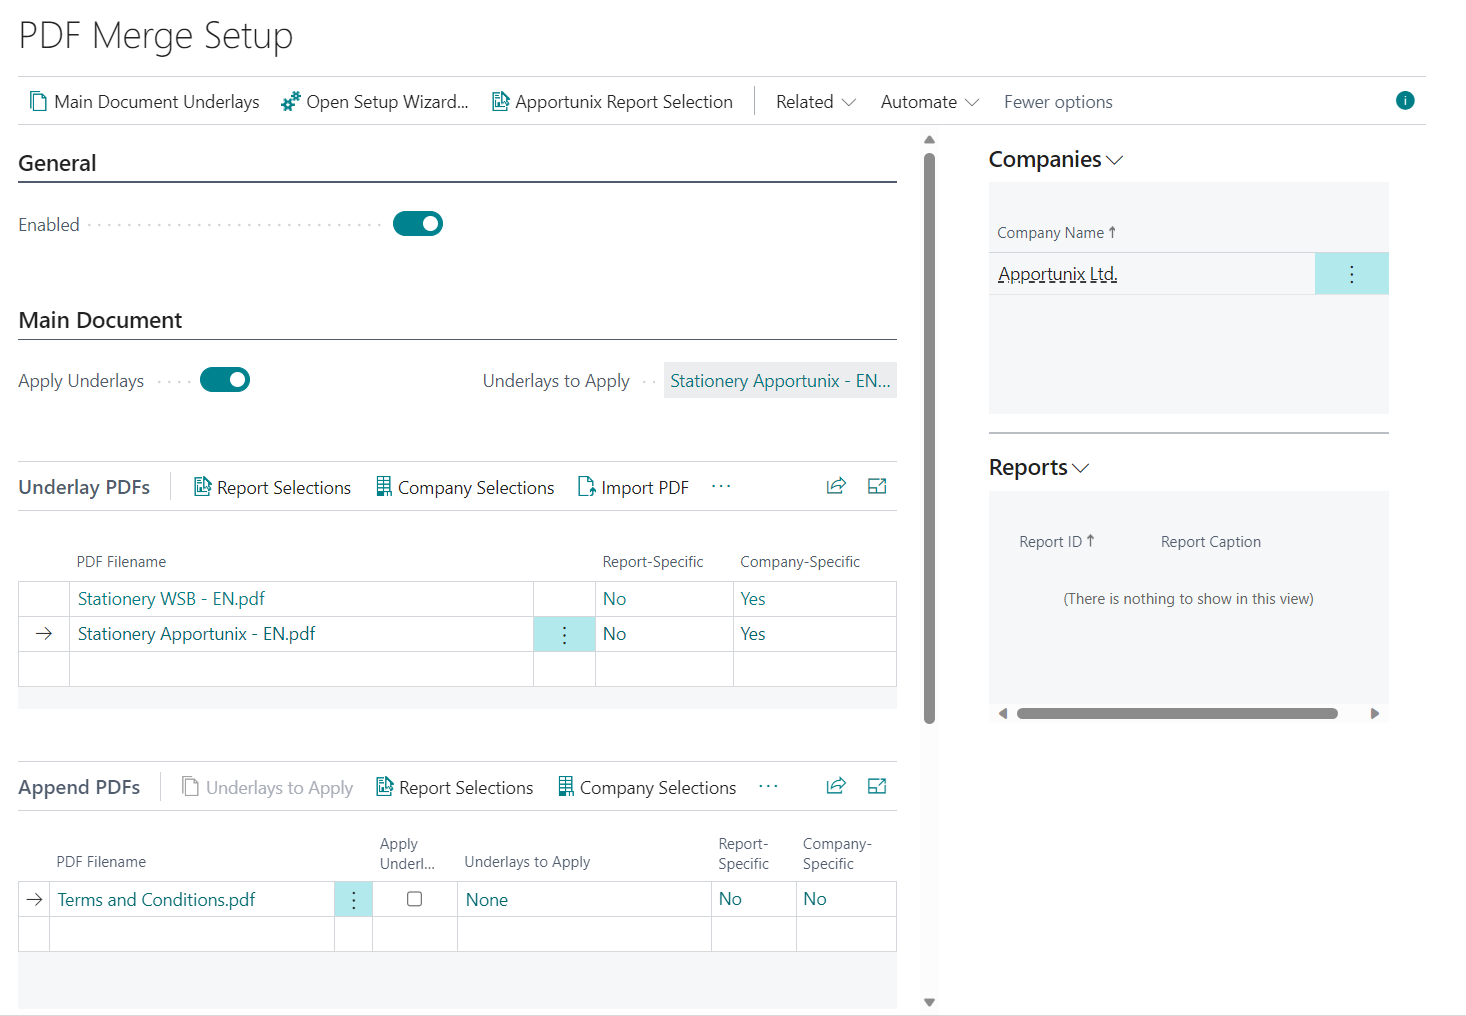
Apportunix PDF Merge is now configured and can be used.